
As usual anything you care to enter is fine, a card, scrap layout, mixed media piece, some home decor, as long as it meets the Get Inky/Messy theme.
Some inspiration from our fabulous DT
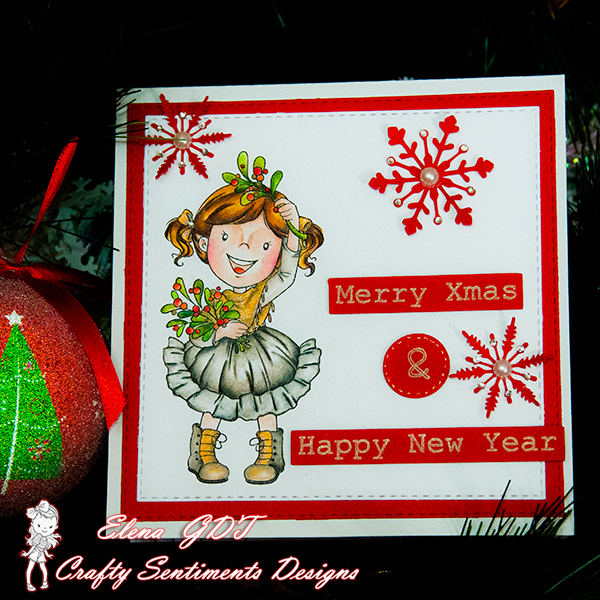
Chanya13

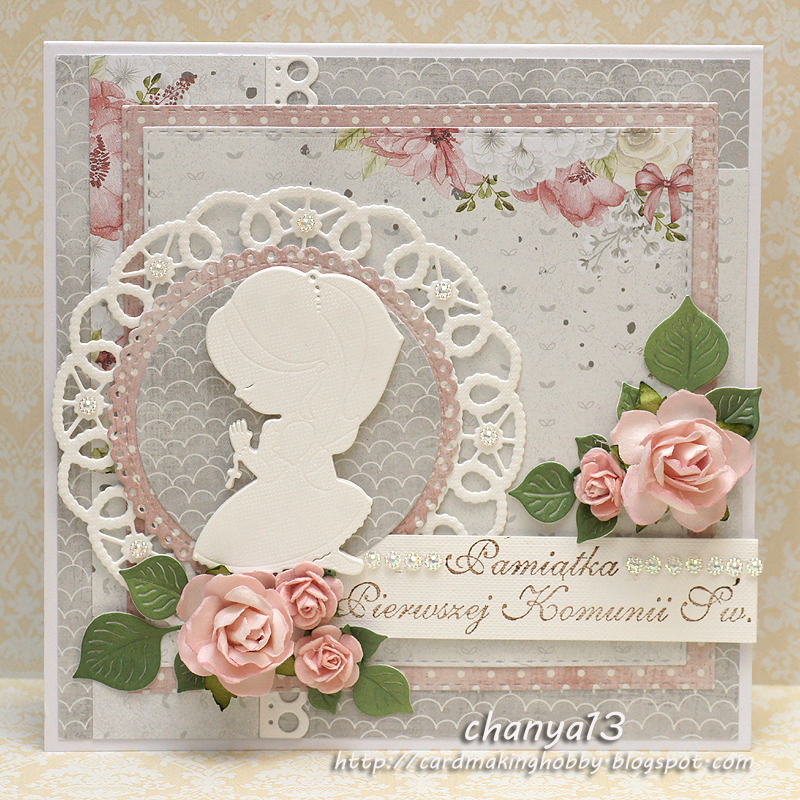
Hello, this time I want to show you a simple card. I cut all flowers from paper and covered all edges with Distress Ink - tea dye. Some of flowers I glued on 3D foam. The sentiment reads 'For You'
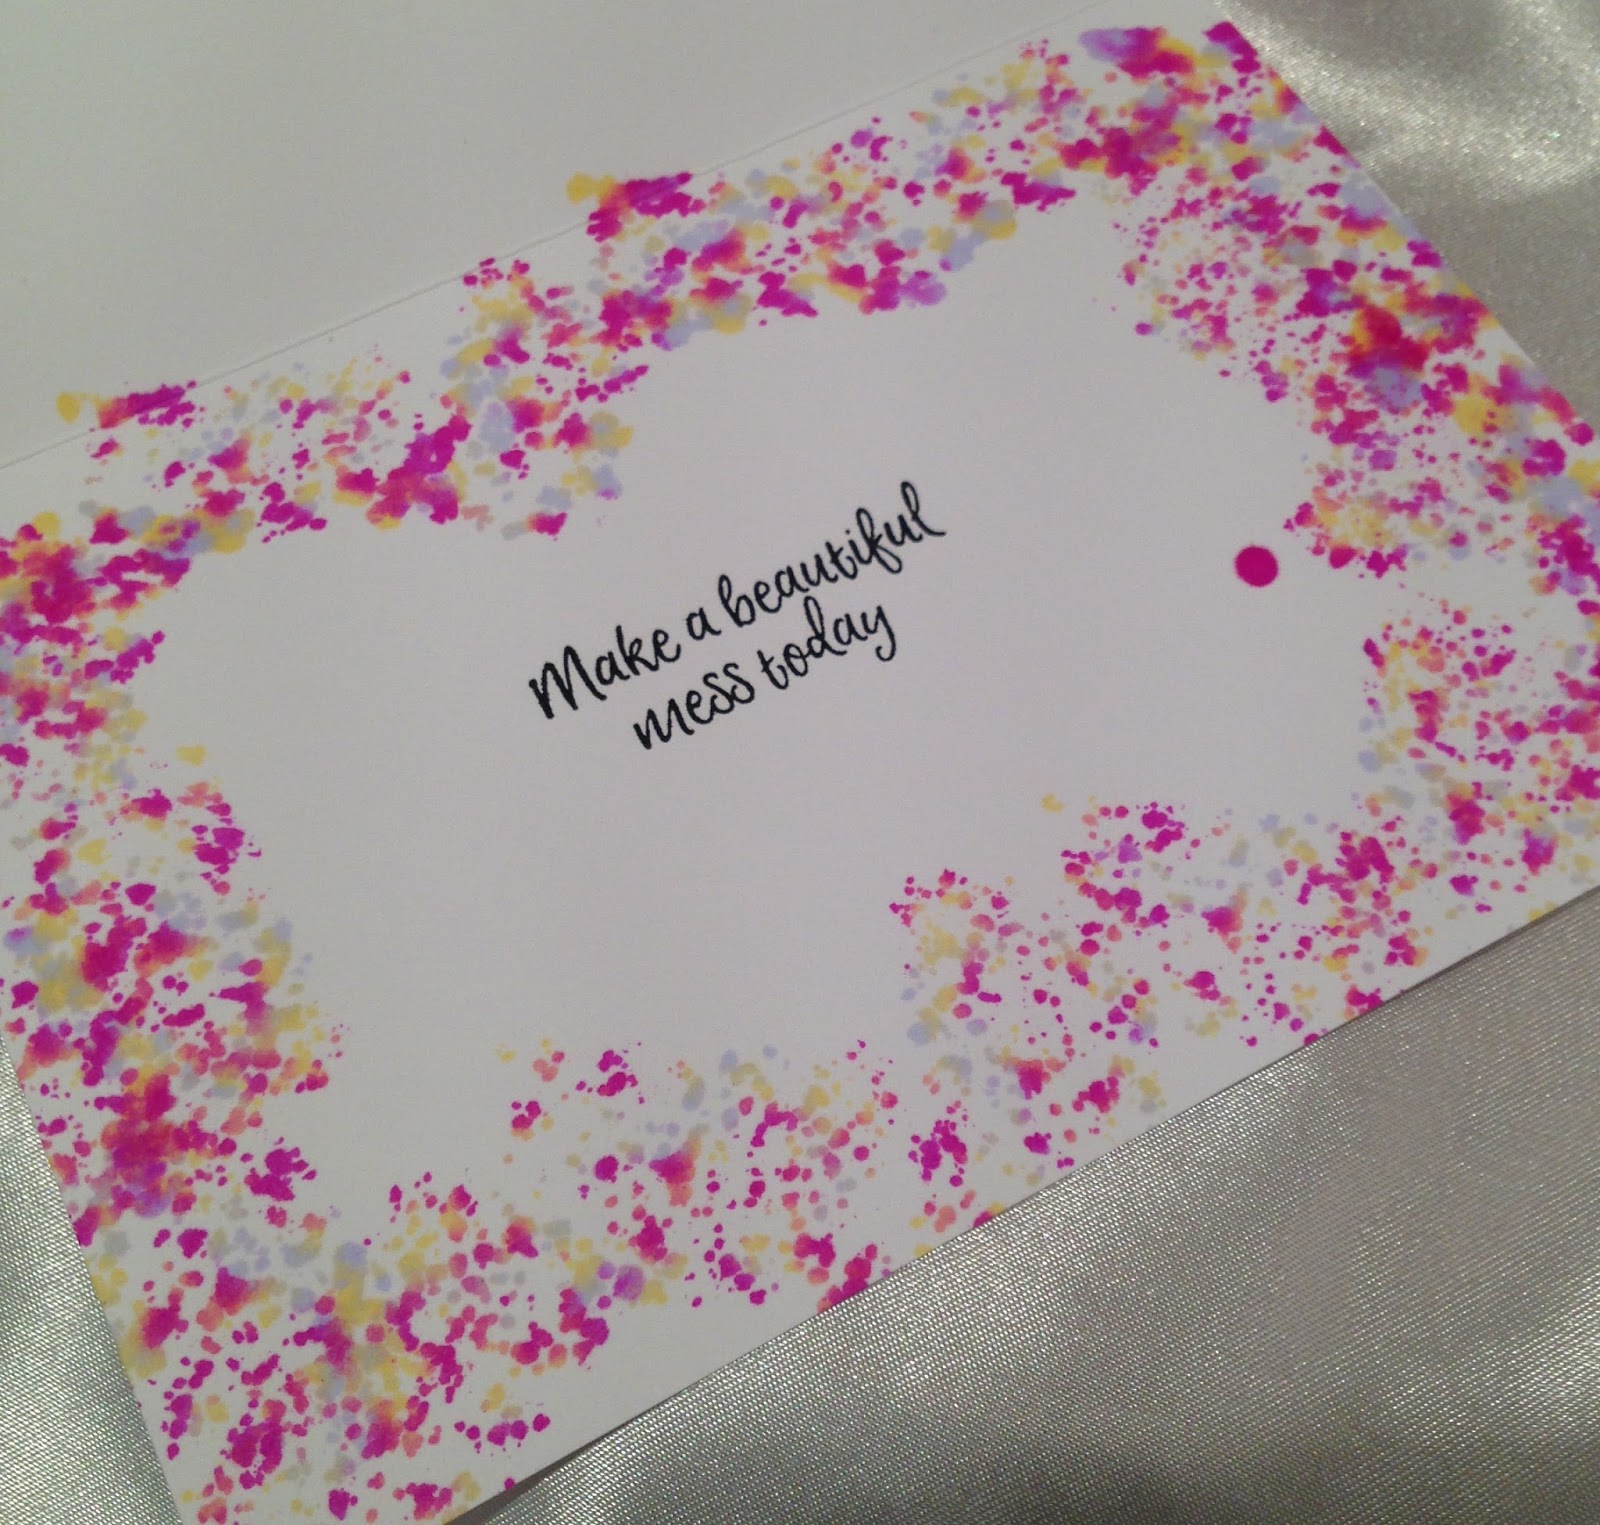
Angela

I had great fun getting messy with this card. I stamped onto the card blank then covered some card with Oxide inks, spraying water over to spread it. I used a sizzix die to cut the centre blob and the rest are waste pieces. Sequins and threads complete the design.
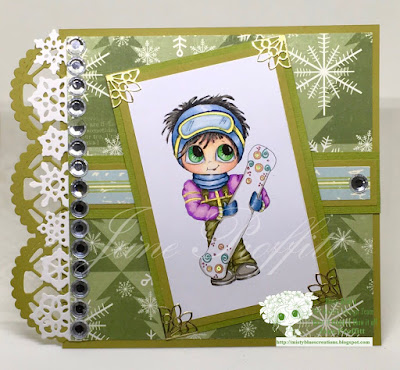
Josephine

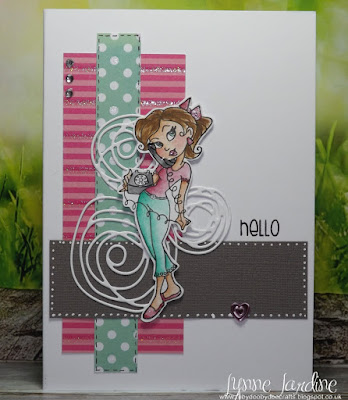
For this, I've used a free stamp from a magazine, coloured with pencils and edged with Distress Ink. The background uses acrylic paint, stencils and my gelli-plate.
Glenda

My Inky/Messy card was created by using rubber stamps and a butterfly die. I stamped the inky blobs using blue and black ink and added additional circles obtained from the die cut butterfly.
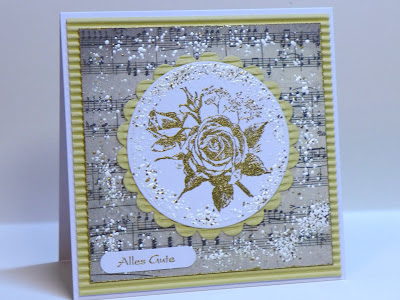
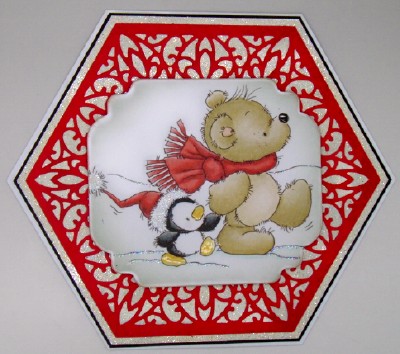
Mary

I flicked green ink over pink card and matted this onto white card. That's the messy bit done! For the rest of the card I used stamps from the roses set of Joanna Sheen's favourite flowers collection colouring the images using Promarkers and the edges using Distress ink.
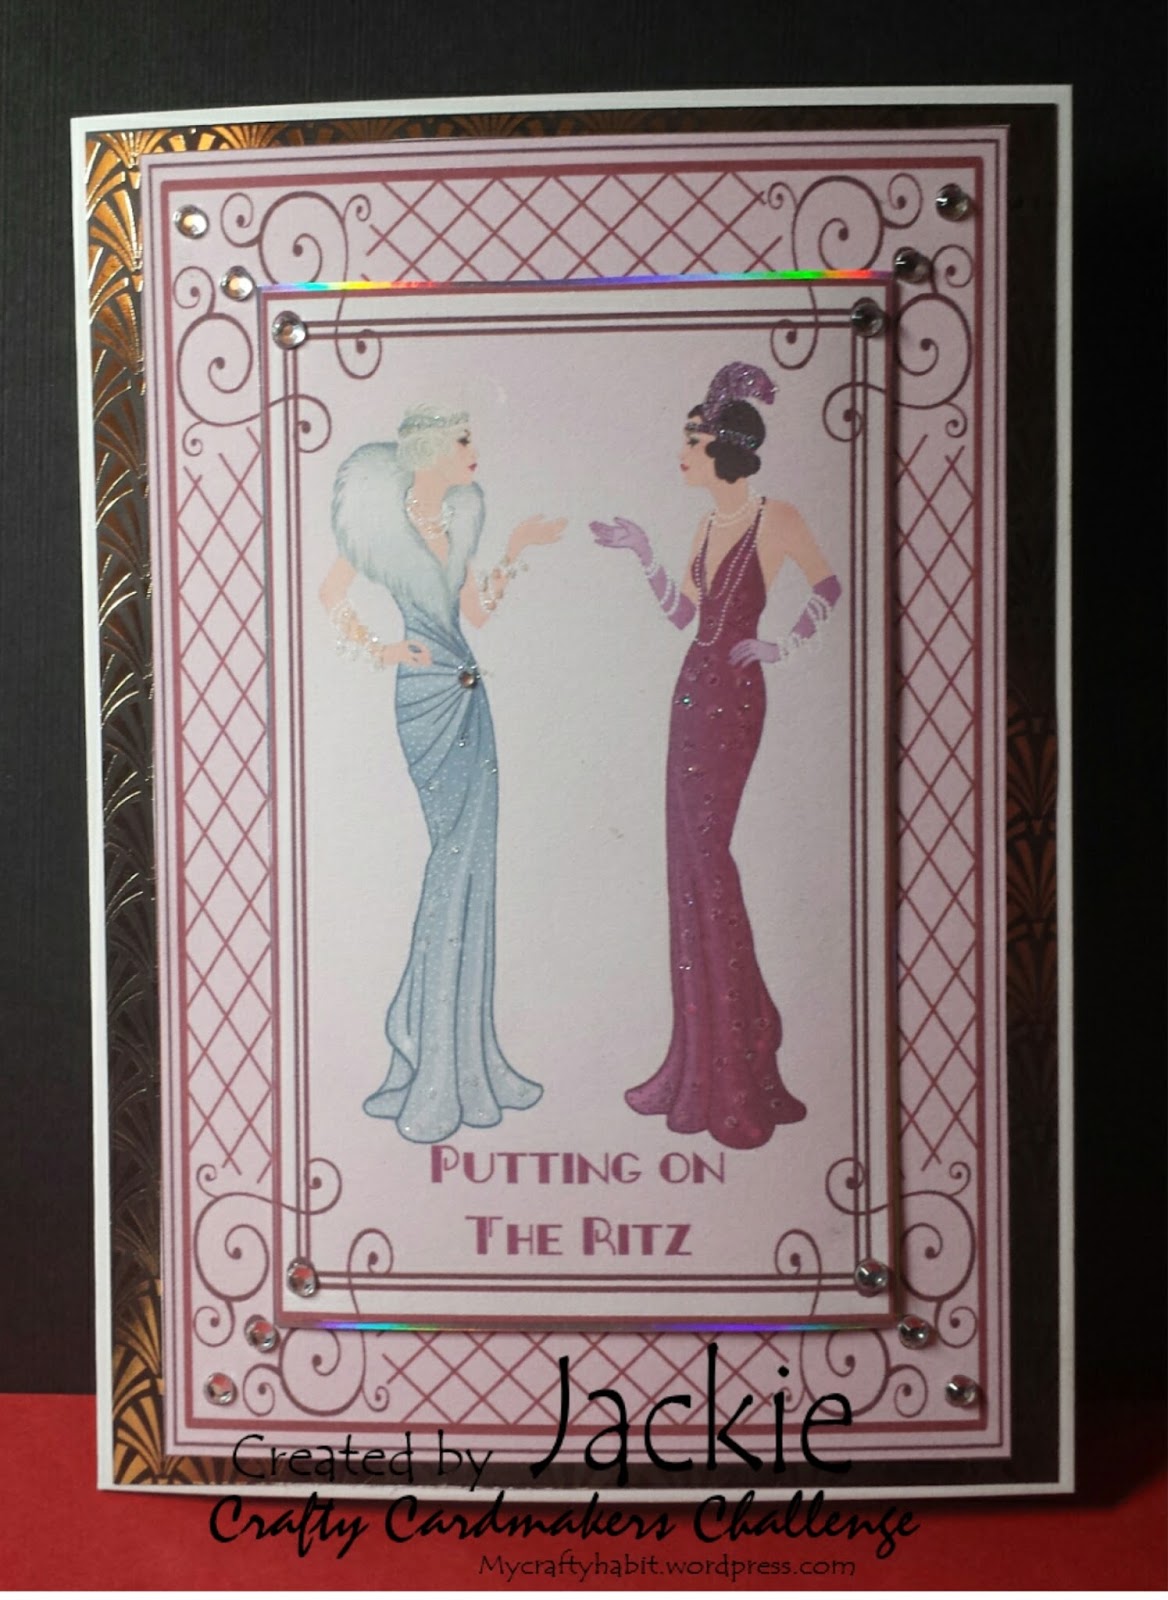
Judy

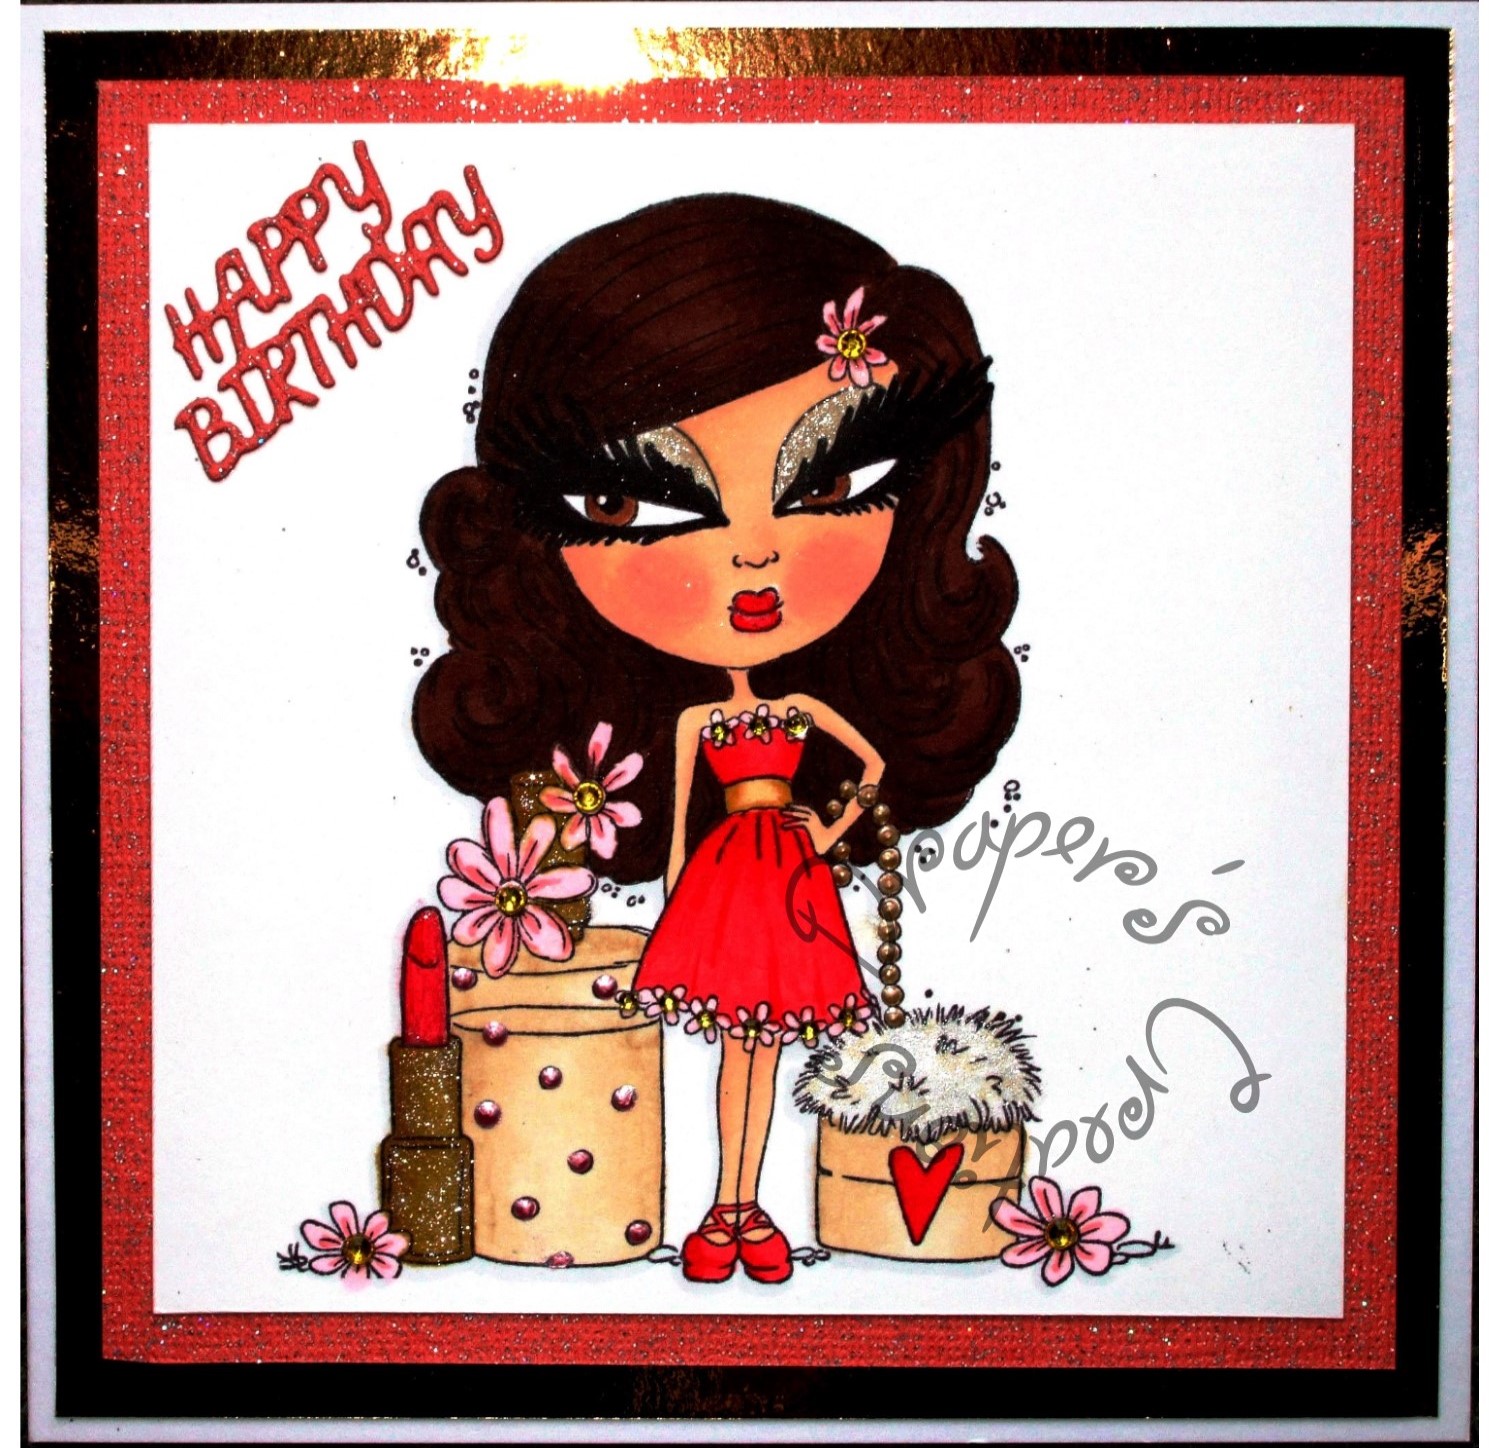
Love this get messy challenge. I used my gell plate to create my background for my card by combining acrylic paints, inks, stencils and sprays. The lovely lady is from my collection of unmounted stamps, the name of the company that makes the stamp escapes me. The image was coloured with Ink Inktense pencils and distress spray inks.
Maike
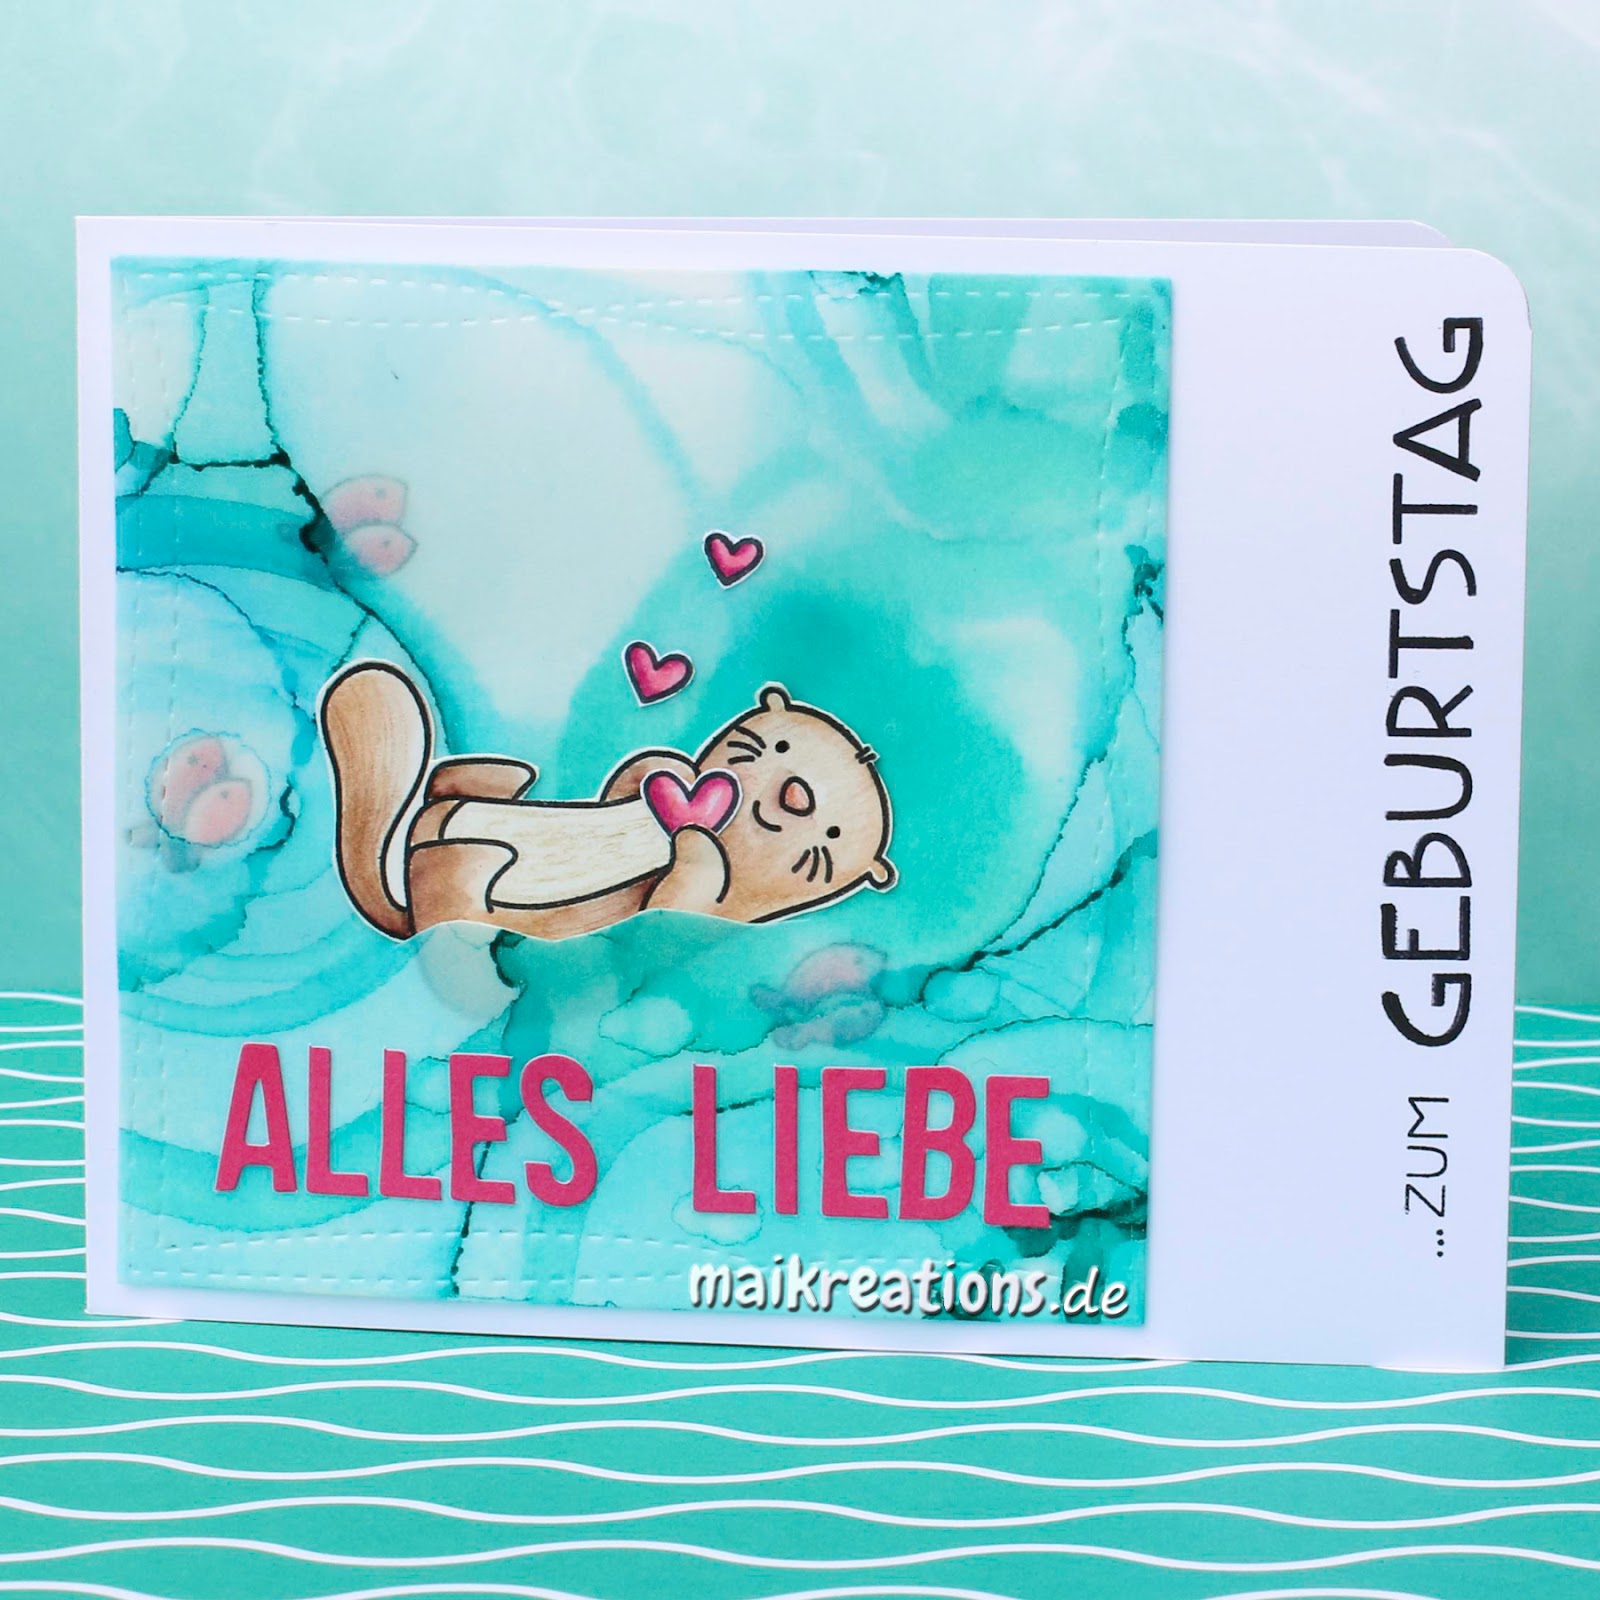
For this "Get Inky /Messy" challenge I created an alcohol ink background on vellum and had loads of fun playing with all those colours.
June

I used 9 colours of Alcohol Inks for my 'inky/messy' background then die cut it and stamped the same sentiment around it
I used 3 of the colours for the inside of my card and thought the sentiment was rather appropriate for the inside as well as the card front. Full details are on my blog
Marlene

For this card I used Distress Inks and a little water and free stamps from Magazine
Jackie

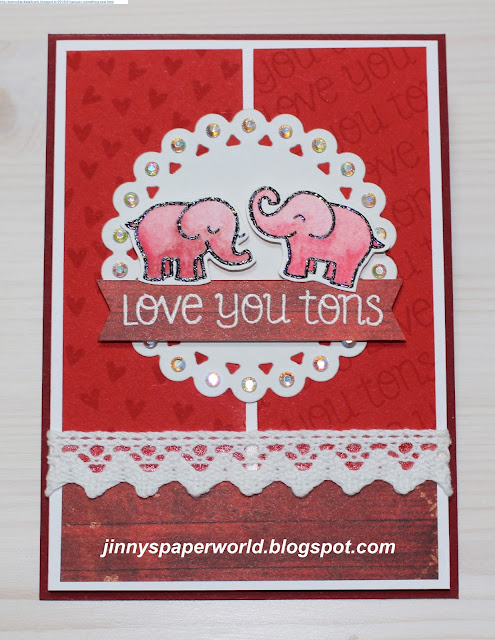
The background to my card was made using the new Distress Oxide inks - I used silhouette stamps from my stash for the images, and a Lynda Chapman die for the sentiment.
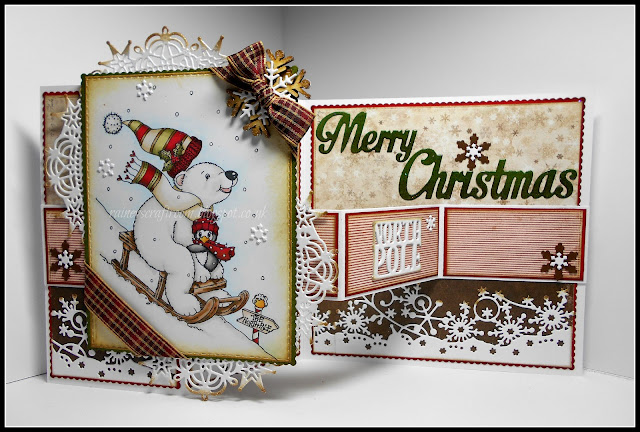
Lin
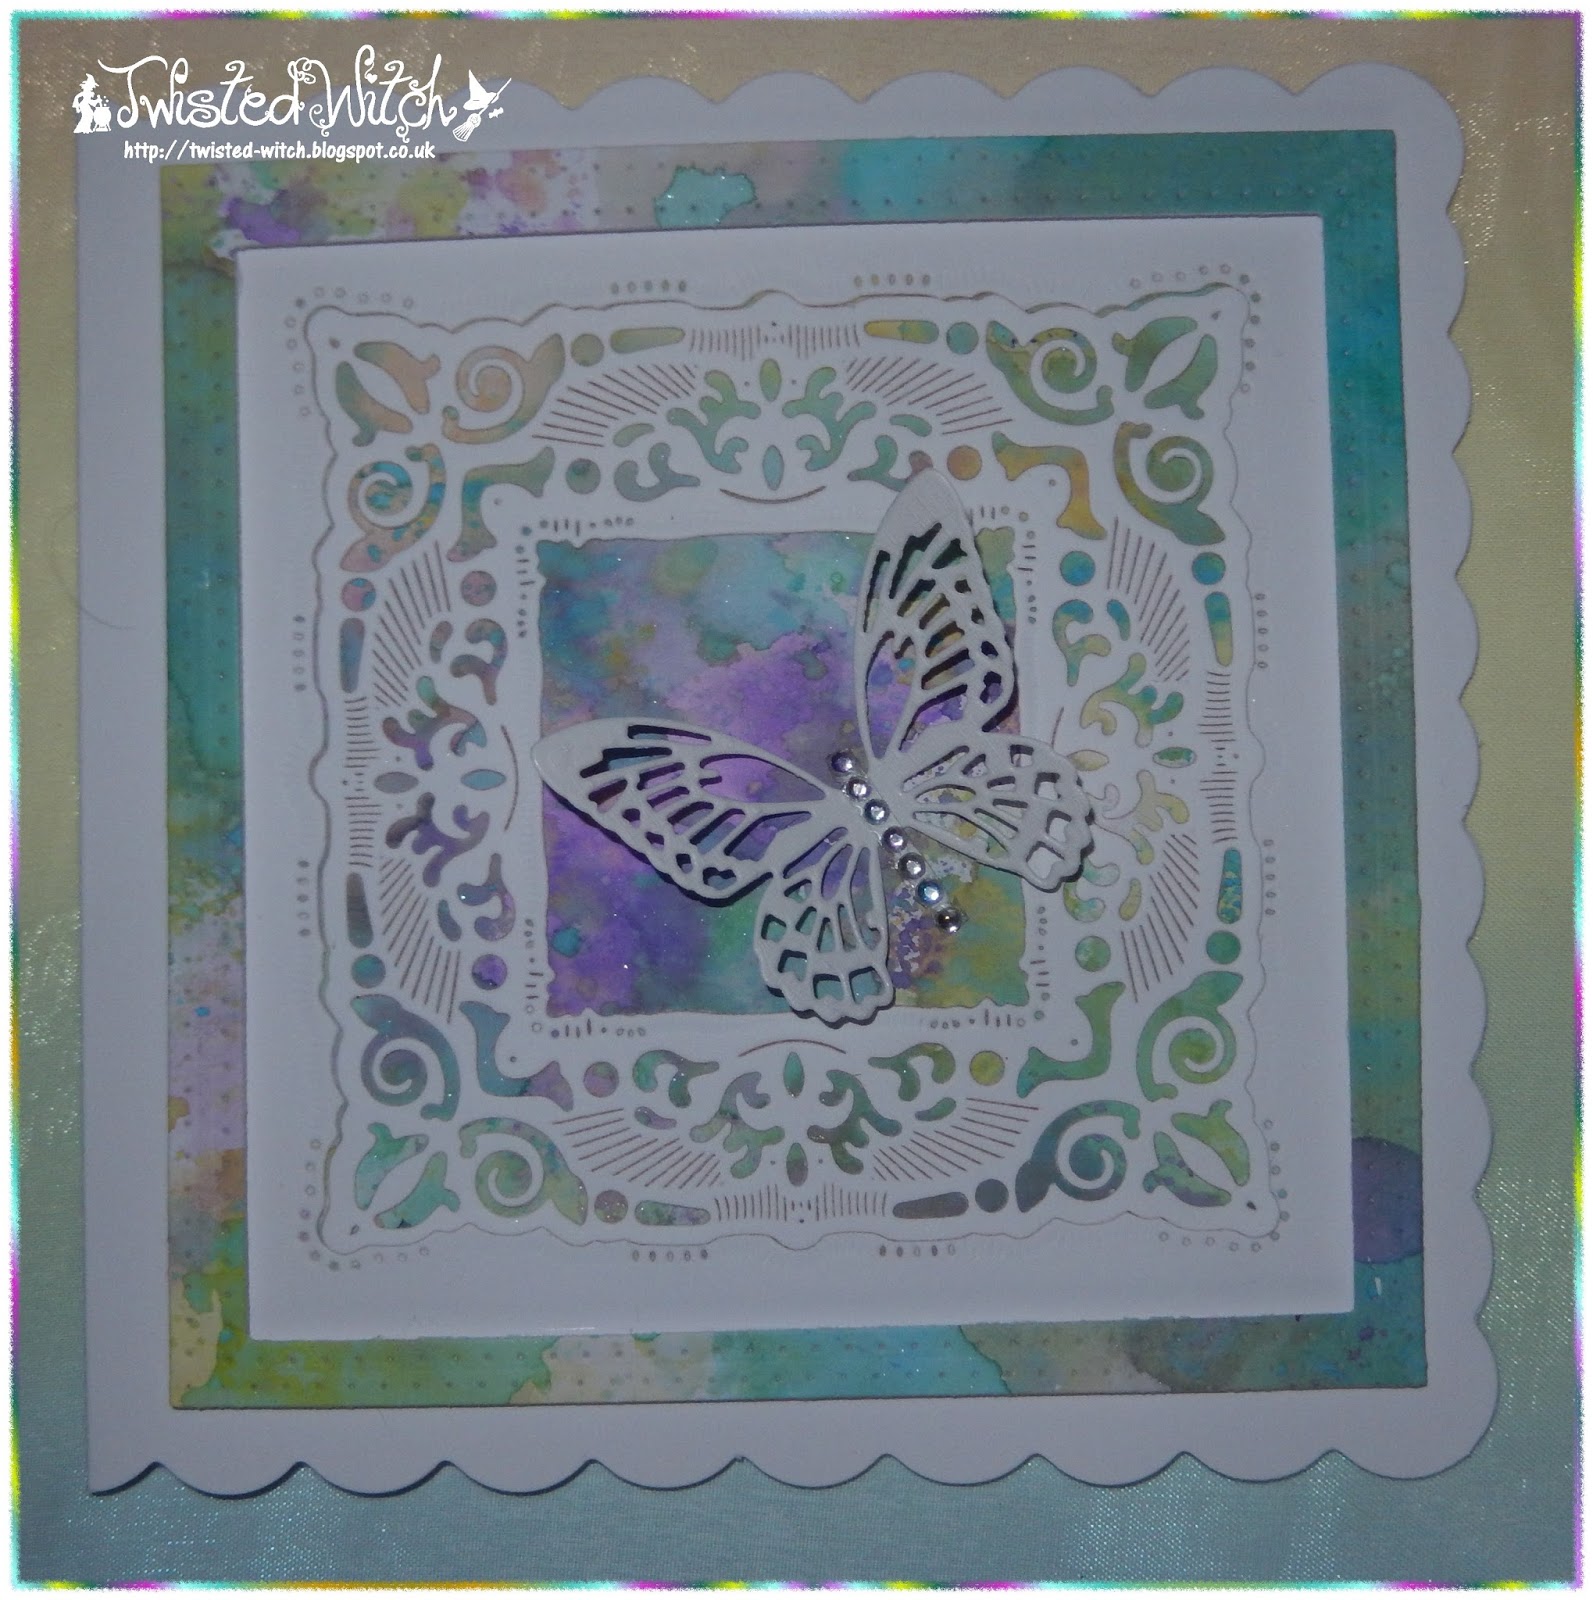
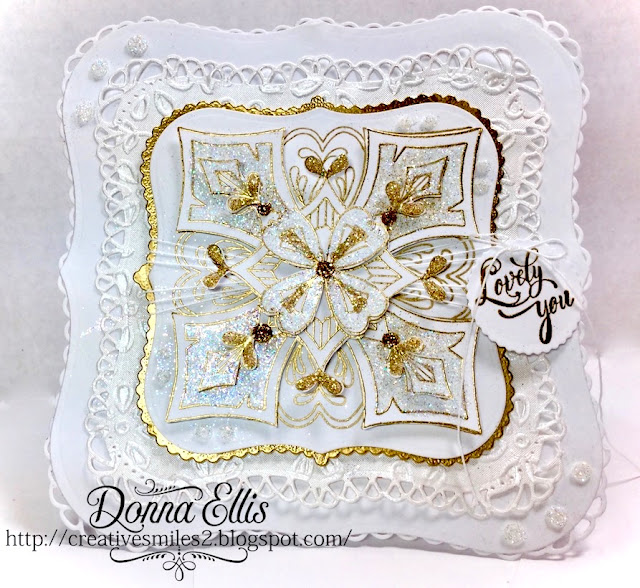
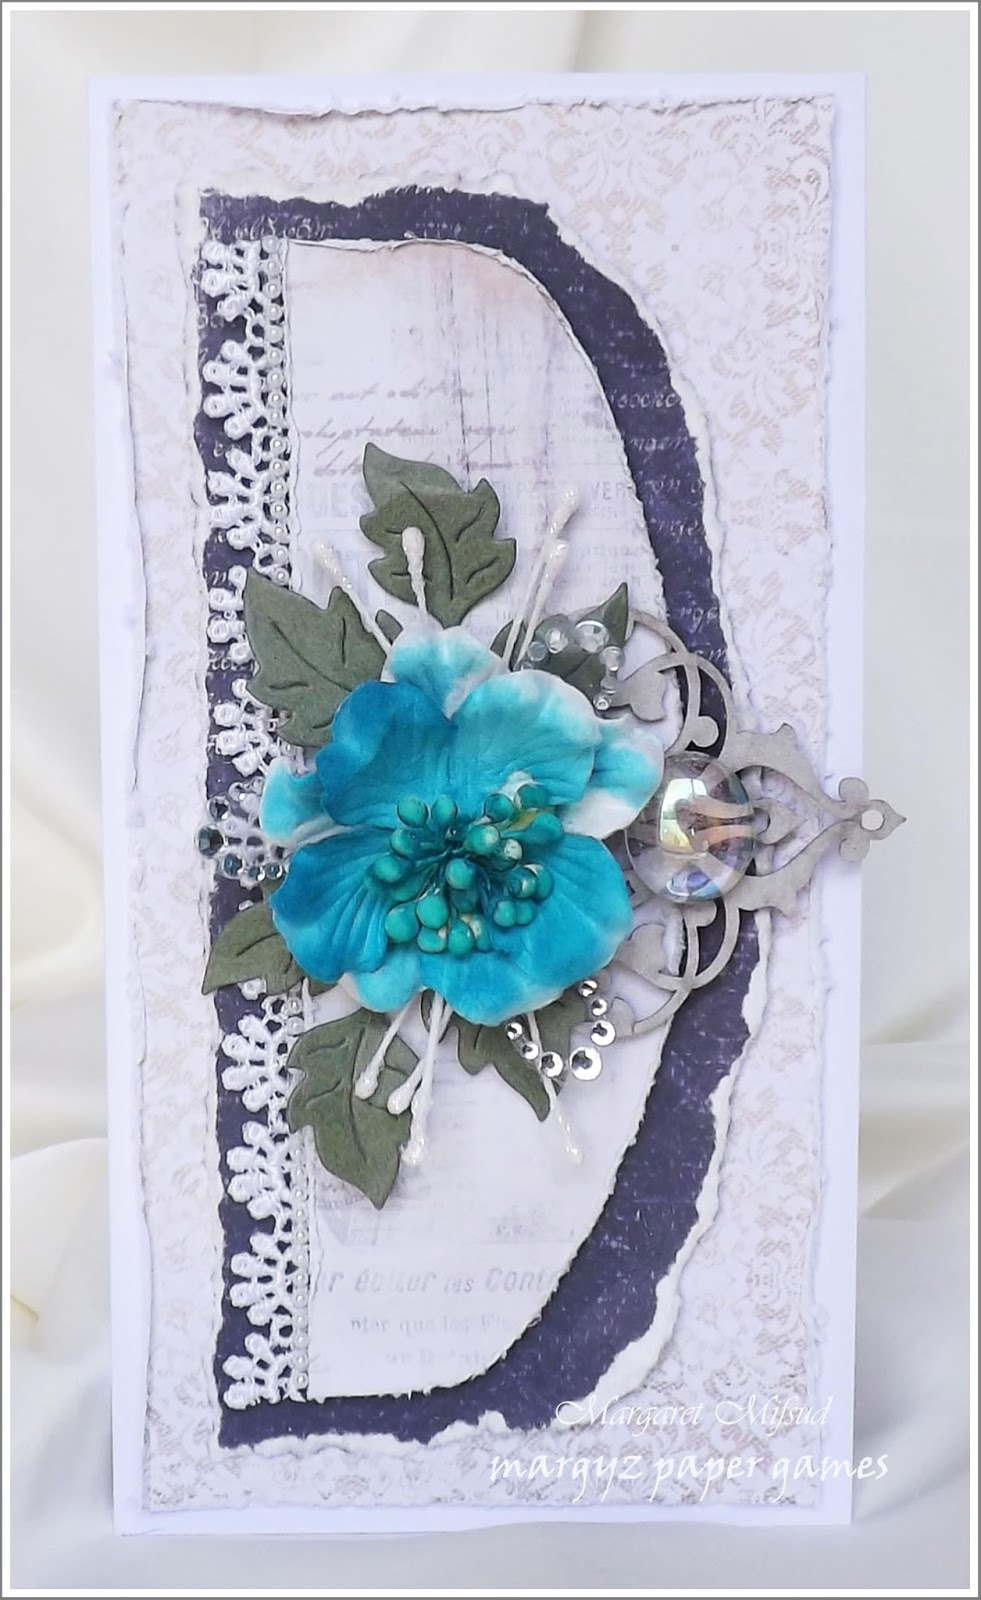
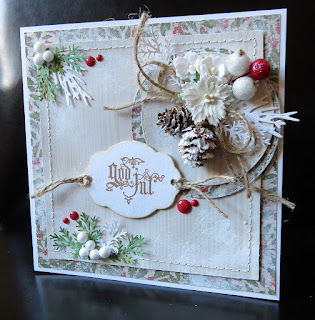
Margaret

I created the background for my base panel by dropping a small amount of Lindy's Stamp Gang Magicals in two colours on a piece of watercolour cardstock and spraying it liberally with water. Added a strip of gauze, wrapped the panel with a piece of twine, and then attached some die cuts and flowers. The yellow flower was coloured with watered down Squeezed Lemon Distress Re-inkers.

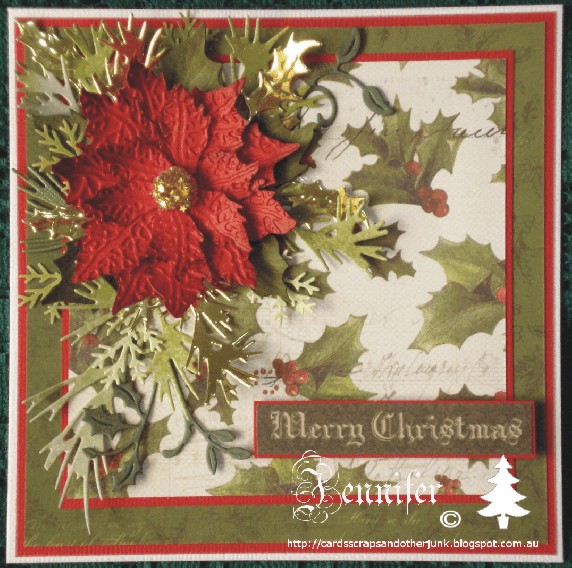
The background to this card is made using the Mop-up technique and Oxide inks. My lovely flower is from Woodware by Jane Gill. See my blog for details